
Last winter, I found myself staring at the blank wall in our parish hall, wishing it felt a bit more… festive. I wanted something beautiful, simple, and meaningful—but honestly, I didn’t have much time or budget. That’s when the idea of DIY snowflake wall art came to me. I grabbed some paper, scissors, and a bit of glitter, and before long, the wall was covered in delicate, handmade snowflakes.
What surprised me most wasn’t just how pretty it looked—it was watching everyone’s faces light up when they noticed the details. Some of the children even added their own, with crooked cuts and big smiles, and it made the display feel alive and joyful. Honestly, DIY snowflake wall art is more than decoration; it’s a way to bring people together, celebrate creativity, and share a little warmth during the cold season. It’s simple, heartfelt, and surprisingly magical.
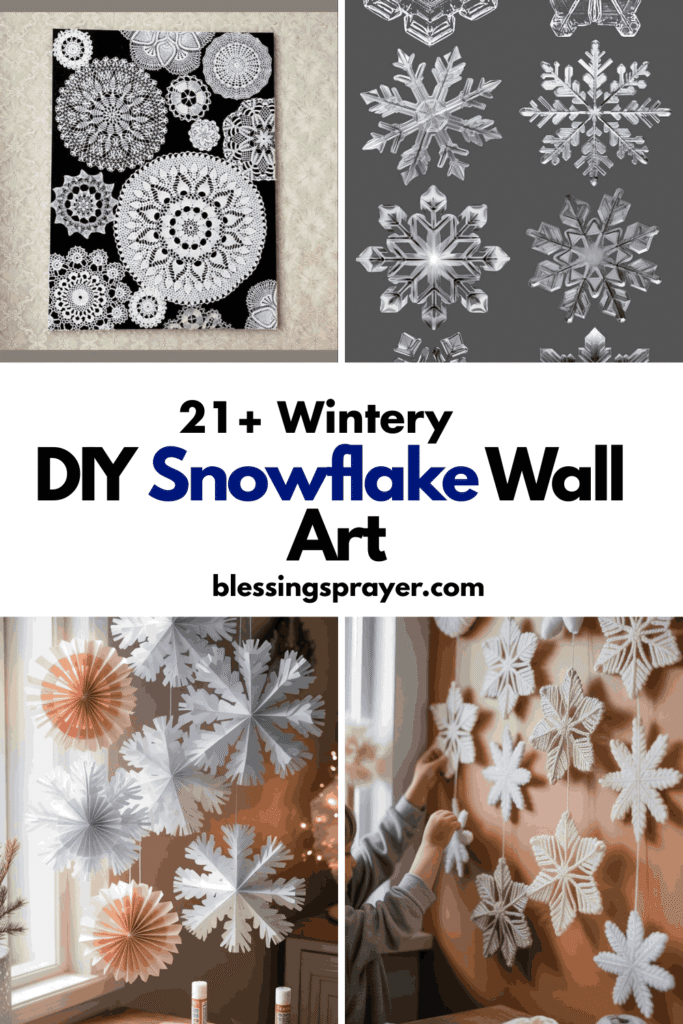
DIY Snowflake Wall Art
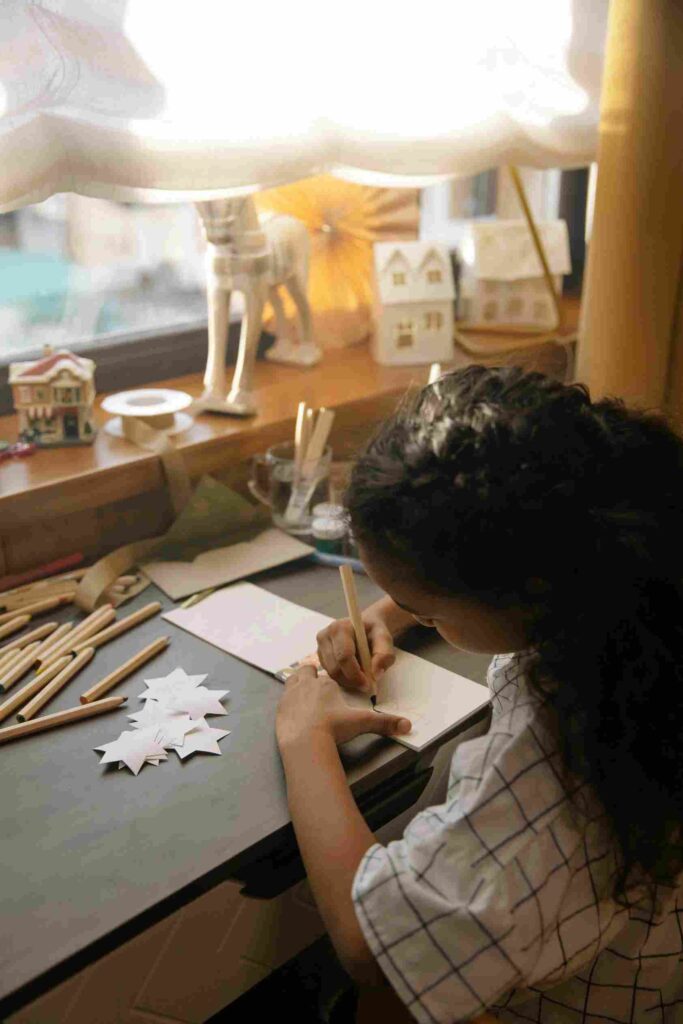
Paper Cut Snowflakes
Source: Pinterest
One of my favorite simple crafts is cutting snowflakes from plain white paper. I remember gathering the kids around the table, letting them fold, snip, and sometimes mess up their patterns. The imperfections made each snowflake unique, and when we taped them to the wall, it felt like a real winter wonderland. I loved watching the way sunlight hit the edges and created tiny shadows—it made the whole room feel cozy and alive.
3D Paper Snowflakes
I experimented with folding and gluing paper to create 3D snowflakes that popped off the wall. They weren’t perfect—some arms were crooked—but that gave them character. Hanging a cluster of these in the corner of a room made it feel like snow had landed inside. People couldn’t stop reaching out to touch them, and I loved how a little depth changed the whole vibe.
Snowflake Shadow Boxes
Source: Pinterest
I once placed delicate paper snowflakes inside shallow shadow boxes and hung them on the wall. The layered shadows added a subtle, almost mystical effect. Kids loved rearranging them and seeing how the light changed the patterns. Honestly, it felt like each box held a tiny winter world, and it brought a calm, reflective mood to the space.
Stamped Snowflakes
Using sponge or potato stamps to create snowflake patterns was a fun, messy experiment. I stamped directly onto a big sheet of paper and hung it as a wall mural. Everyone got involved, and watching the overlapping prints form new patterns was exciting. Sometimes the simplest techniques yield the most joyful results.
Yarn Snowflakes
I twisted yarn into star-like snowflakes and glued them to the wall. I didn’t expect them to look so delicate, but the texture added a cozy feel. Kids enjoyed making smaller yarn snowflakes to hang alongside larger ones. It became a tactile, playful display that felt alive and inviting.
Doily and Glitter Wall Art
Layering paper doilies with a touch of glitter made the wall shimmer beautifully. I tried this with my Sunday school class, and their excitement was contagious. Even the simplest materials felt elegant when grouped together. The shimmer caught the light in just the right way, creating a festive glow without being overwhelming.
Snowflake Mobile
Source: Pinterest
I hung snowflakes from strings at different lengths to create a mobile effect on the wall. Walking past it, I noticed how the snowflakes gently swayed in the breeze from the window. It brought a sense of movement and life into the room, and I loved seeing little ones reach up to “catch” them.
Mixed Color Snowflakes
Instead of plain white, I experimented with soft pastels and metallics. Layering different colors made each snowflake pop and gave the wall a cheerful, whimsical vibe. I even let the kids mix their favorite colors, and it created a vibrant, joyful display. Color can really change the energy of a simple craft.
Twine Snowflakes
Using twine and glue, I made rustic snowflakes that felt earthy and warm. I hung them alongside paper ones for contrast, and it gave the wall an unexpected texture. People kept touching them to feel the rough edges, and I found it fascinating how simple materials can add personality to a display.
Snowflake Chalk Art
View this post on Instagram
One winter, I sketched snowflakes directly on a dark-colored wall with chalk. Kids and adults could add their own designs, and we even highlighted some with white and silver pastel pencils. The temporary nature made it playful—every day the wall changed slightly as new designs were added. It was interactive, creative, and fun.
Layered Tissue Paper Snowflakes
I layered tissue paper in different sizes and cut intricate patterns for snowflakes that almost looked like they were glowing. Hanging them in front of the light made them delicate and magical. The kids were amazed at how soft tissue paper could look so elegant, and I was reminded that even fragile materials can create beauty.
Snowflake Wall Stickers
View this post on Instagram
I bought a few simple snowflake stickers and let the kids place them wherever they liked on a blank wall. To my surprise, the random arrangement looked cohesive and charming. It required zero cleanup and still gave a full wintery effect. Sometimes, simplicity really is key.
Paper Quilled Snowflakes
I tried paper quilling for the first time—rolling strips of paper into intricate snowflake shapes. It was fiddly, but watching the pieces take shape was satisfying. Gluing them to the wall created delicate, almost lace-like designs that were surprisingly elegant. It reminded me that patience in crafting often pays off beautifully.
Snowflake Canvas Art
I painted large snowflakes on a blank canvas and hung several canvases together on the wall. It became a bold, artistic statement rather than just decoration. Each canvas had a slightly different style, and when placed together, it felt like a gallery of winter magic. People were impressed, and I loved how versatile this approach was.
Glittered Snowflake Collage
I once tried sprinkling glitter over paper snowflakes glued to a large poster board. Honestly, it got a bit messy, but the sparkle was magical. The kids loved shaking glitter over their own designs, and we ended up with a big, shimmering wall display. The extra shine made the room feel festive, and it reminded me that a little creativity can brighten even the coldest days.
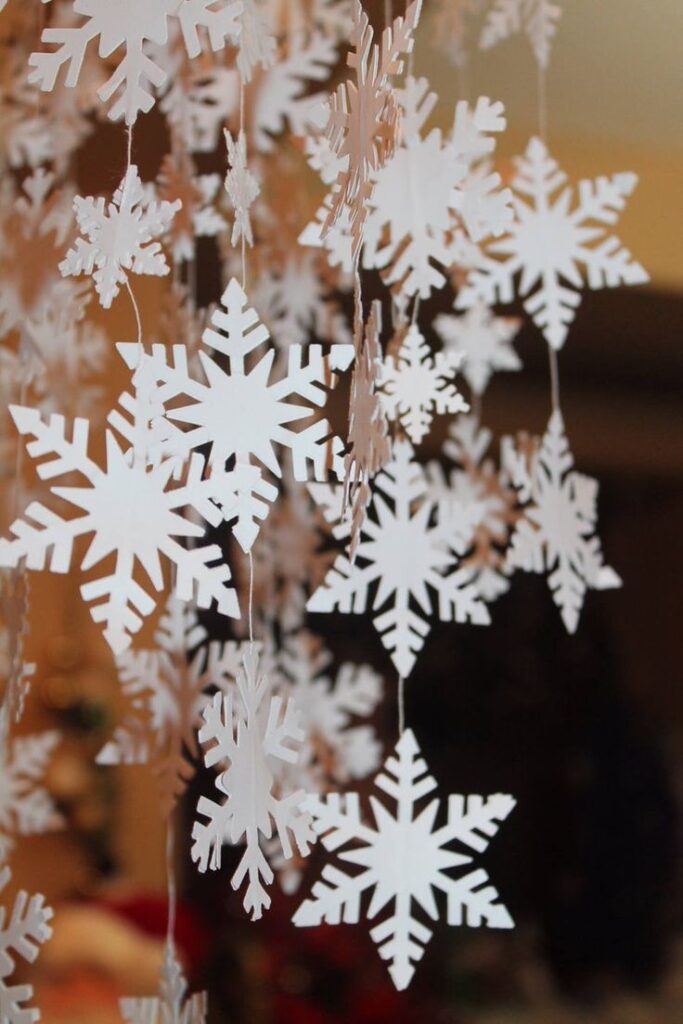
Layered Snowflakes
Stacking smaller snowflakes over bigger ones adds depth to a wall display. I tried this on a blank hallway wall, and it instantly felt more dynamic. Some snowflakes were even slightly rotated or overlapping, which gave it a more natural, floating look. People walking by couldn’t stop commenting on how “three-dimensional” it felt, and I realized it’s small tweaks like these that make DIY art pop.
Origami Snowflakes
Origami snowflakes were new to me, but I gave it a try with some thin patterned paper. Folding each one required patience, but I found it meditative. When I hung them in clusters along the wall, it looked elegant and intricate without needing fancy tools. Honestly, it’s a craft that feels simple to make but impressive to display.
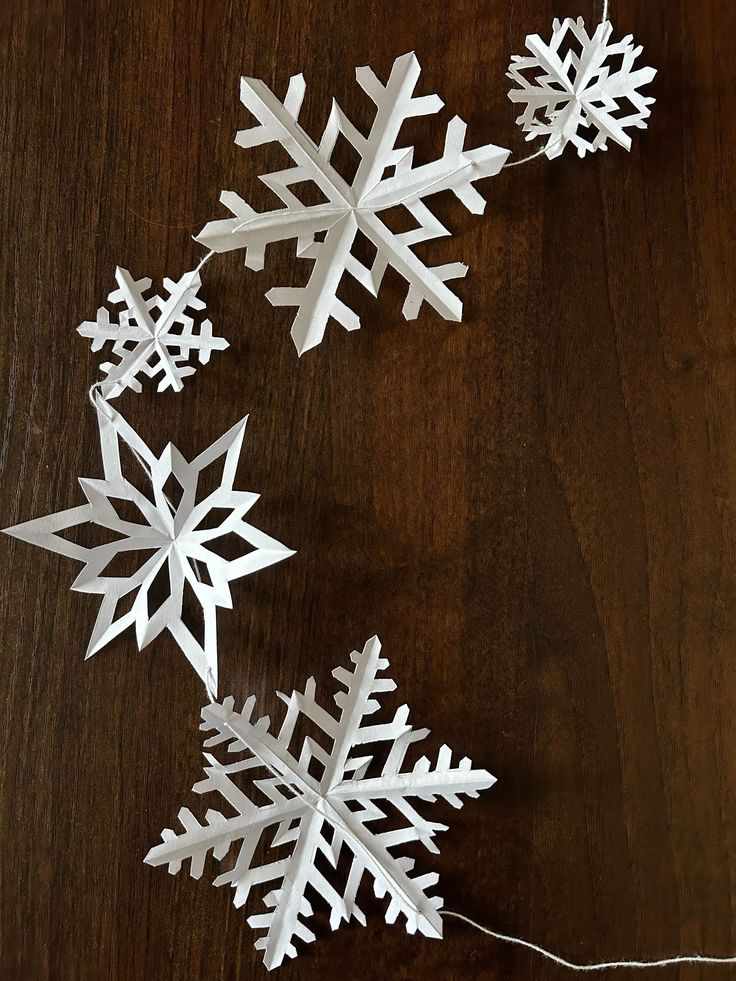
Snowflake Garland
I once strung small snowflakes along twine and draped them across the wall. Kids helped punch holes and thread them, which was a fun chaos of laughter and tangled string. It added movement to the room, and I loved seeing how the garland swayed gently when someone walked by. A snowflake garland like this turns a blank wall into a playful, festive scene.
Paper Doily Snowflakes
Using doilies as snowflakes was a happy accident—I had some left over from a church bake sale. We cut and shaped them into stars, and the lace-like edges created delicate patterns that paper alone couldn’t achieve. It felt almost ethereal, and hanging them together gave the wall a soft, elegant look. Even simple materials can create beauty if you let them shine.
Foil Snowflakes
I tried making snowflakes from aluminum foil once, folding and cutting them carefully. The reflective surface caught the light beautifully, making the display sparkle even in dim rooms. Kids loved playing with the foil pieces, pressing them flat, and watching them shimmer. Honestly, I wasn’t expecting foil to look so elegant, but it turned out to be one of my favorite variations.
Punched Circle Snowflakes
Instead of traditional cuts, we used circle punches on cardstock to create snowflake patterns. It was easy for younger kids, and the results were surprisingly pretty. Sticking them randomly on the wall gave a modern, whimsical feel. I realized you don’t need complex shapes to make a beautiful display—sometimes simple geometry is enough.
Mixed Media Snowflakes
One year, we mixed materials—paper, fabric, lace, and even a bit of yarn—to make snowflakes. Each one told a different story, and together they formed a textured wall art display. People kept touching them to see the layers, and it reminded me that creativity doesn’t have to follow rules. Mixed media can make DIY snowflakes feel extra special.
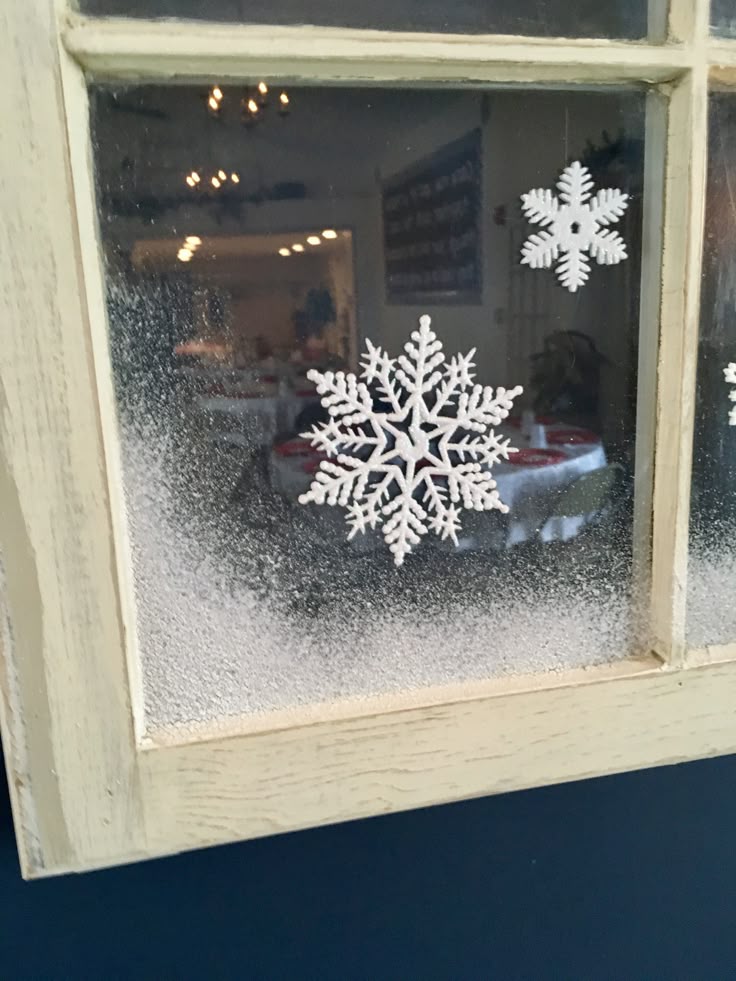
Snowflake Window Frames
I cut snowflakes slightly larger than the windowpanes and taped them on the glass. The sunlight streaming through created patterns on the walls, and it felt almost magical. Kids loved peeking through and watching the light shift during the day. I’ve found that using walls and windows as canvases opens up endless possibilities for snowflake art.
FAQ
What materials do I need for DIY snowflake wall art?
Honestly, almost anything works—paper, cardstock, doilies, yarn, foil, or even fabric scraps. Scissors, glue, tape, and maybe some glitter or markers are enough to get started. You don’t need fancy tools; the joy is in creating something heartfelt.
Can kids participate in making snowflake wall art?
Absolutely. Some techniques, like punched circles, simple paper cuts, or yarn snowflakes, are perfect for kids. I’ve found that kids’ “messy” creations often add personality and charm that adults can’t replicate.
How do I make the wall display look cohesive?
Grouping snowflakes by size, color, or material can make a large wall feel organized. Mixing textures or 3D elements adds depth, while clustering smaller pieces around bigger ones gives balance. It doesn’t need to be perfect—irregularities often make it more interesting.
How long does it take to set up a snowflake wall display?
That depends on the complexity. Simple paper snowflakes can be taped up in under an hour, while layered or 3D designs may take longer. I’ve found that involving family or friends turns setup into part of the fun

I’m father joaquin perez, we are a catholic church with all the sacraments where everybody is welcome. we celebrate catholic mass every Sunday at 12:30pm at saint stephen episcopal church at 2750 McFarlane road, Miami, Florida