
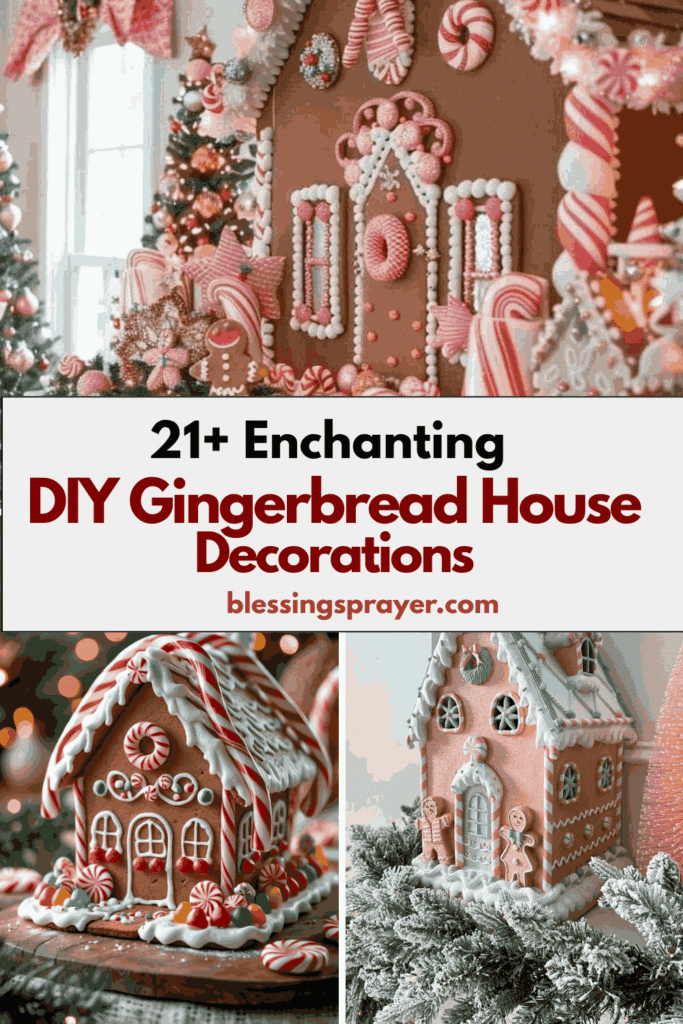
Every holiday season, I can’t help but dive into some DIY magic, and decorating gingerbread houses is always at the top of my list. There’s something so heartwarming about turning plain cookie pieces into a cute, candy-filled little home. The scent of ginger and cinnamon fills the room while I spread icing like glue, adding gumdrops, candy canes, and sprinkles wherever they fit.
It’s a little messy, but that’s part of the fun. Whether I’m decorating with family or crafting my own unique design, it always brings laughter, creativity, and so much warmth. I love that there’s no right or wrong way to do it—just imagination and joy. From cereal wreaths to snowy roofs dusted with sugar, every small detail feels special.
So grab your frosting bag, play your favorite Christmas songs, and let’s make something sweet, festive, and full of cheer together!
DIY Gingerbread House Decorations
Candy Roof Design
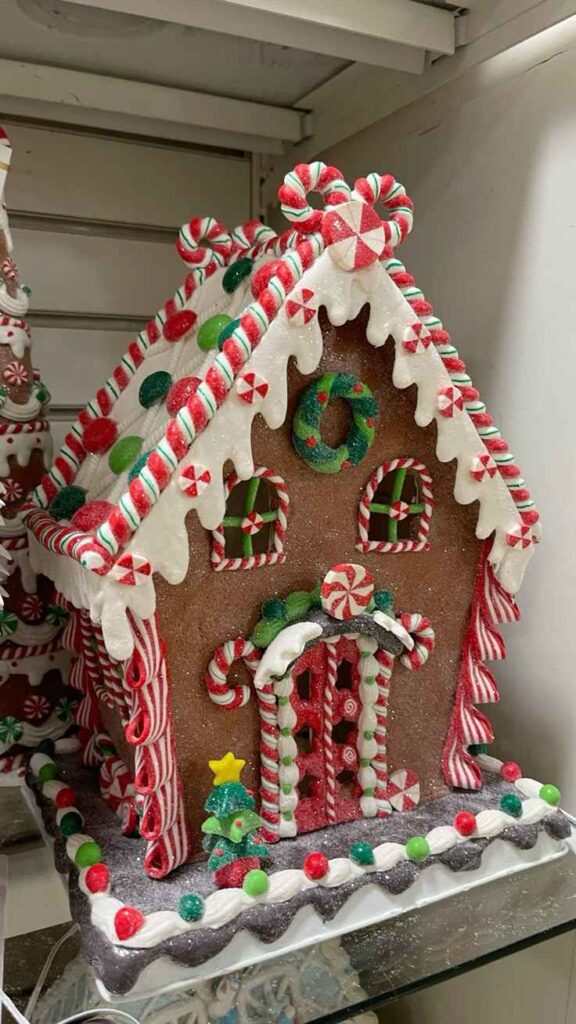
Source: Pinterest
Decorating the roof is my favorite part of any gingerbread house. I usually use colorful gumdrops, peppermints, and small candies to create patterns or stripes. It instantly makes the house look bright and festive. Sometimes I mix different textures like sprinkles or coconut flakes for a snowy look. Kids love helping arrange the candies, and it’s a great way to get creative as a family. Honestly, the roof is what gives the house its character—it’s playful, cheerful, and full of sweet charm that makes every gingerbread display stand out beautifully.
Licorice Window Frames
Source: Pinterest
Using licorice strings to outline windows gives a playful and colorful twist to the gingerbread house. I usually go for red or black licorice, depending on the theme. It adds texture and contrast against the brown gingerbread. Kids enjoy cutting and shaping the pieces to fit perfectly. Honestly, these soft candy borders bring a sweet handmade touch that makes each window pop and adds fun detail to the overall design.
Shredded Coconut Snow
I love sprinkling shredded coconut around the gingerbread house to create a soft, snowy base. It looks so realistic and smells delicious too. Sometimes I mix in a bit of powdered sugar or edible glitter for sparkle. Kids enjoy spreading the “snow” and making little snowbanks. Honestly, it’s one of those easy, mess-free ways to give your gingerbread scene a magical winter vibe that feels cozy and festive.
Gingerbread Tree Forest
Creating a mini forest from small gingerbread trees is such a charming idea. I use cookie cutters for the tree shapes, bake them, and decorate with green icing and sprinkles. Arranging them beside the house makes the display feel like a full Christmas village. Kids love decorating their own trees and adding stars or candy ornaments. Honestly, it brings a sense of life and storytelling to your gingerbread setup that everyone enjoys admiring.
Wafer Cookie Walkway
Using wafer cookies as a walkway or patio adds both texture and pattern. I love how their crisp, grid-like surface looks next to the smooth icing. I usually layer them on icing “cement” and add gumdrops along the edges. Kids enjoy snapping the wafers into pieces and fitting them together like a puzzle. Honestly, it’s a quick, simple detail that makes your gingerbread display look polished and thoughtfully designed.
Mini Candy Wreaths
Making tiny candy wreaths for doors or windows always adds a festive touch. I form a circle with small green candies or cereal loops and add a red candy “bow.” They look adorable when placed above the front door. Kids love crafting their own and sticking them on different parts of the house. Honestly, these little details make the gingerbread house feel cheerful, complete, and filled with Christmas spirit.
Icing Lace Borders
Adding icing lace along the edges of the roof or walls makes your gingerbread house look elegant and detailed. I use a fine piping tip and take my time creating delicate patterns. Sometimes I sprinkle a touch of edible glitter to highlight the lacework. Kids love watching the icing designs come to life. Honestly, this adds a handcrafted, graceful finish that feels like a mix of art and holiday magic.
Cinnamon Stick Logs
Source: Pinterest
Cinnamon sticks make amazing accents for a gingerbread house, especially if you’re going for a rustic or woodland look. I use them as fence posts, door frames, or even as mini logs beside the house. The scent is warm and inviting. Kids enjoy stacking and gluing them with frosting. Honestly, they not only look great but also fill your home with that cozy Christmas aroma everyone loves.
Snowy Roof with Powdered Sugar
Dusting powdered sugar over the roof creates the perfect snowy finish. I usually sift it gently using a small strainer to keep it even. Sometimes I add a few “snow piles” of icing here and there. Kids love watching the sugar fall like real snow. Honestly, it’s such an easy yet beautiful touch—it makes your gingerbread house look freshly dusted by winter magic.
Gingerbread Mailbox
View this post on Instagram
Adding a small gingerbread mailbox next to the door gives your house a charming, lived-in feel. I make it using tiny gingerbread rectangles and secure them with icing. Decorating it with a candy flag or name tag makes it extra cute. Kids love the idea of pretending it’s for Christmas letters to Santa. Honestly, it’s a whimsical detail that makes your display feel fun and full of imagination.
Chocolate Pebble Path
Creating a pathway from chocolate-covered candies or rocks adds texture and realism. I lay them in rows over icing so they look like little cobblestones. Sometimes I mix in colorful pieces for a playful touch. Kids love picking out their favorite colors and helping place them. Honestly, it’s a simple yet eye-catching detail that makes your gingerbread house look complete and full of festive personality.
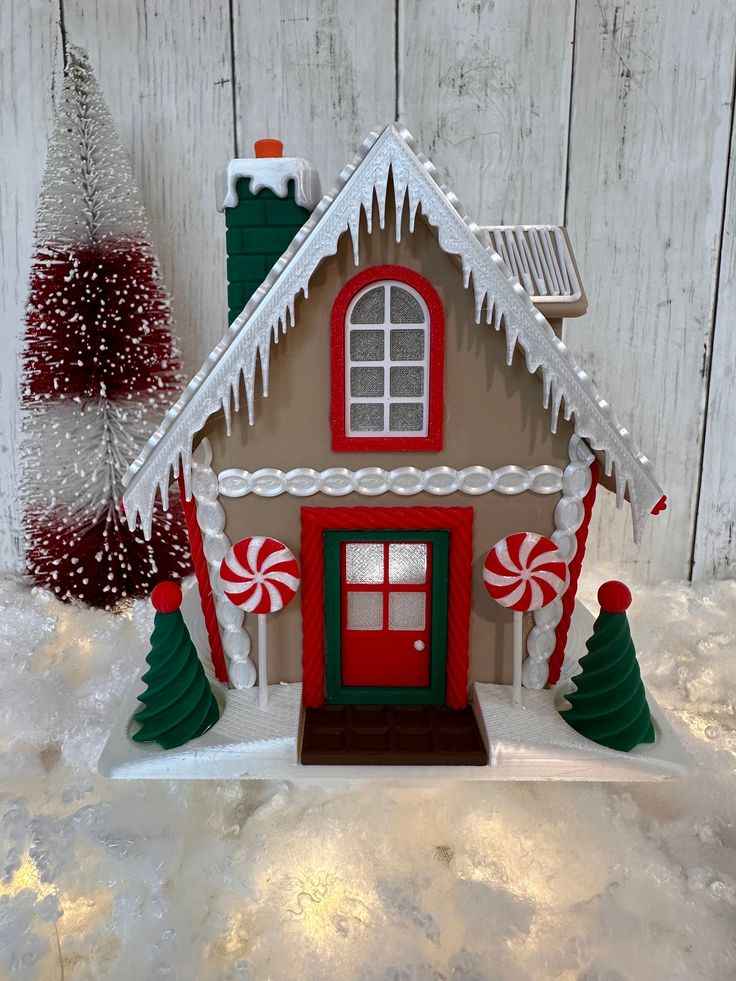
Frosted Window Frames
View this post on Instagram
I love using icing to outline and decorate the windows of my gingerbread house. White frosting gives it that classic snowy feel, while adding silver dragees or edible glitter makes it sparkle under the lights. Sometimes I even use small pieces of melted sugar for a “glass” effect. Kids enjoy helping squeeze the icing and decorate the edges. Honestly, it’s such a small detail, but it makes the whole house look polished and magical—like a tiny fairytale home.
Candy Cane Fence
Creating a fence from mini candy canes is such a fun touch. I usually line them around the house, curving the tops inward or outward for a cute effect. A little frosting helps them stick together perfectly. Kids love placing them in a neat row or designing heart-shaped gates. Honestly, this simple craft adds structure, charm, and color to the display. It’s one of those easy yet eye-catching details that instantly brings festive cheer to your gingerbread scene.
Icing Snow Drips
Adding icing snow drips along the roof edges and windows gives the gingerbread house a cozy, wintry vibe. I use a piping bag to let the icing naturally fall into little icicle shapes. Sometimes I sprinkle a bit of sugar on top for a frosty sparkle. Kids have fun creating uneven drips—it makes everything feel more real. Honestly, it’s a subtle but powerful detail that transforms a plain gingerbread house into a snowy holiday masterpiece.
Gumdrop Pathway
Designing a gumdrop pathway leading up to the front door is always a highlight. I arrange the gumdrops in alternating colors on a bed of white icing, making it look like a frosted walkway. Sometimes I add coconut flakes or powdered sugar around it for an extra snowy feel. Kids enjoy choosing the colors and helping line them up perfectly. Honestly, this tiny path adds warmth and story—it feels like you’re welcoming guests into a sweet little Christmas cottage.
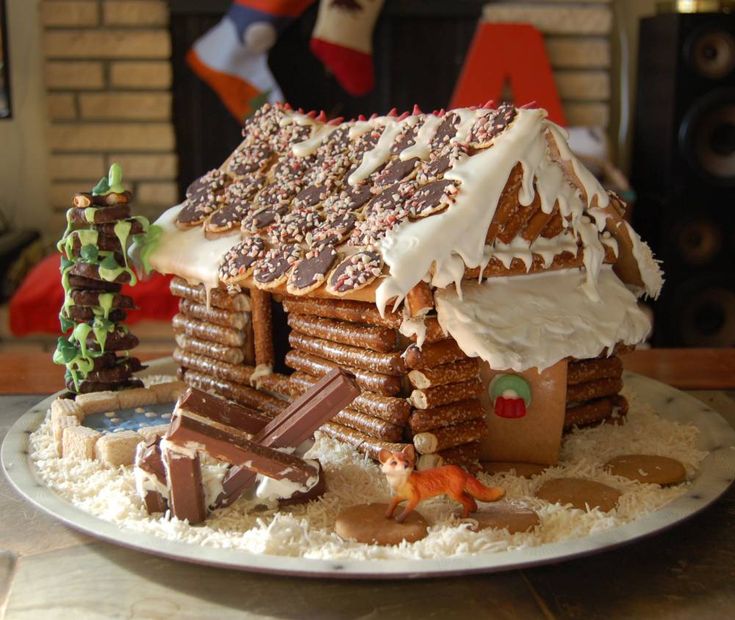
Pretzel Windows and Doors
Pretzel sticks make the cutest rustic frames for gingerbread windows and doors. I love their texture and golden color—it pairs perfectly with the gingerbread’s warm tones. I glue them with frosting and add candy “doorknobs” or icing borders for detail. Kids enjoy snapping the pretzels into the right sizes and assembling the frames. Honestly, this idea gives the house a charming log-cabin feel and adds that homemade touch everyone loves.
Peppermint Chimney
Building a chimney from stacked peppermint candies adds such a bold pop of color. I usually attach them with thick icing and dust the top with sugar for a snowy look. Sometimes I add a little cotton candy or marshmallow fluff to mimic smoke. Kids find this part hilarious and fun to build. Honestly, it’s one of those simple details that instantly stands out and makes your gingerbread house extra festive and whimsical.
Marshmallow Snowmen
Adding tiny marshmallow snowmen next to the gingerbread house brings it to life. I use toothpicks to stack the marshmallows and decorate with mini chocolate chips for eyes and buttons. A licorice strip or icing scarf adds personality. Kids love designing their own snowmen and placing them in the yard. Honestly, it’s such a joyful, interactive touch that turns your gingerbread display into a full winter wonderland scene.
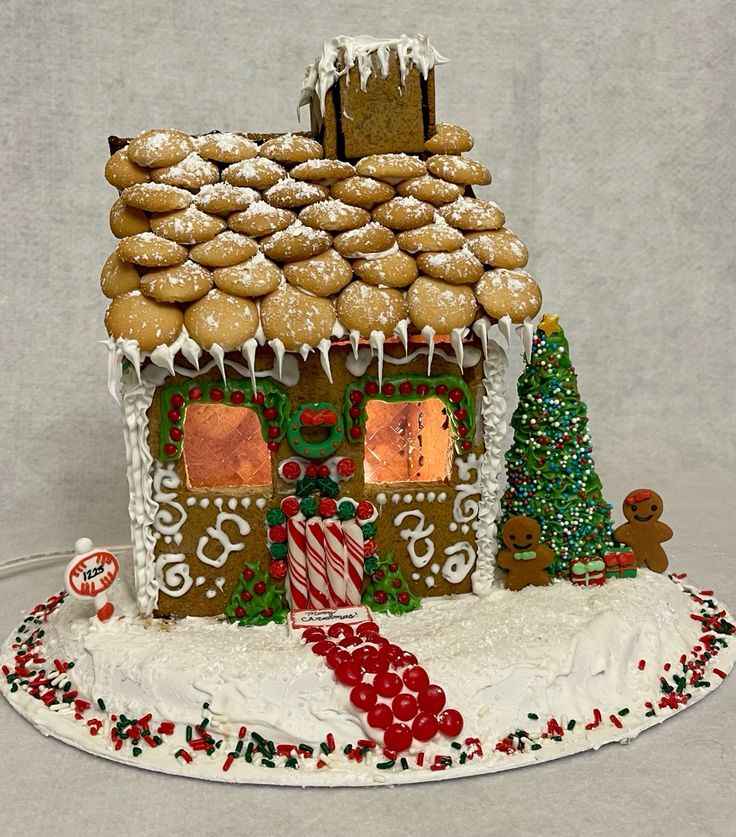
Sprinkle Roof Shingles
Using sprinkles for roof shingles is a creative twist I adore. I coat the roof with a layer of frosting, then press colorful sprinkles or sugar pearls in neat rows. It’s bright, playful, and super easy for kids to help with. Sometimes I blend red, green, and gold sprinkles for a Christmas feel. Honestly, it’s a simple yet eye-catching idea that turns the roof into a cheerful burst of color and fun.
Chocolate Bar Walls
Using chocolate bars as walls or accents gives the gingerbread house a rich, elegant touch. I carefully break the bars to fit and attach them with icing. It looks sleek, modern, and smells amazing. Kids love helping line up the chocolate pieces and “taste test” a few too. Honestly, it’s a clever way to combine texture, design, and sweetness in one cozy, chocolatey creation that stands out from the usual gingerbread style.
FAQ
What basic materials do I need to decorate a gingerbread house?
You’ll want a sturdy gingerbread house (baked or kit), royal icing for glue, piping bags or squeeze bottles, a variety of candies (gumdrops, peppermints, candy canes, chocolate pieces), shredded coconut or powdered sugar for snow, and simple tools like small spatulas and scissors. A clean, flat workspace and a tray to build on help a lot.
How do I make the house stay together without collapsing?
Use thick royal icing as your “cement” and let joints dry fully before adding heavy decorations. Work in stages—assemble walls first, let them set, then add the roof. Supporting pieces temporarily with jars or cans while drying prevents shifts. Patience (and sturdy icing) is key.
Are there safe ways for kids to help?
Yes—give kids tasks like choosing candies, pressing decorations into soft icing, sprinkling coconut “snow,” or making marshmallow snowmen. Keep hot tools and sharp knives out of reach and supervise when piping or assembling small pieces.
Can I make gingerbread houses ahead of time?
Absolutely. You can bake and cut pieces days in advance and store them in an airtight container. Assemble and decorate 1–2 days before display for best freshness. If using a kit, build and decorate the same day or the day before for optimal structural integrity.

I’m father joaquin perez, we are a catholic church with all the sacraments where everybody is welcome. we celebrate catholic mass every Sunday at 12:30pm at saint stephen episcopal church at 2750 McFarlane road, Miami, Florida